Building a Skirt Block With Two Darts Instead of One
One dart per half distributes waist suppression unevenly on most bodies — this note works through drafting a two-dart skirt block instead.
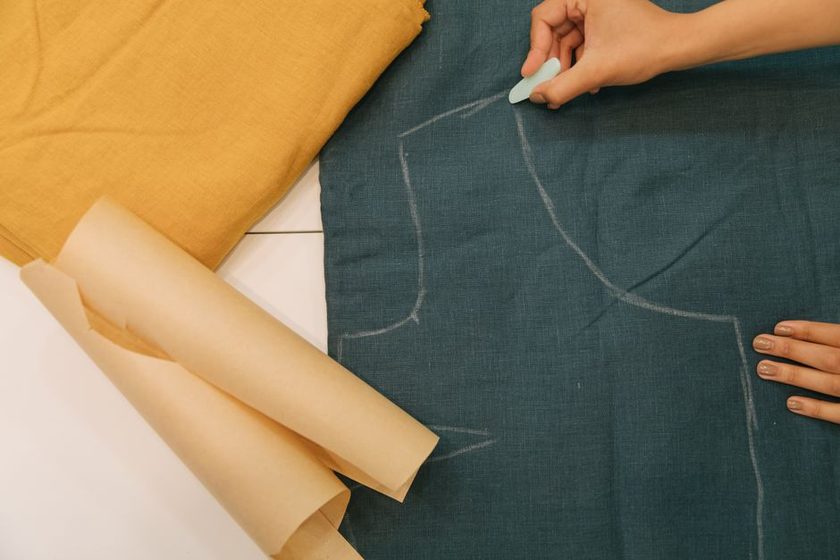
The first straight skirt off my block hung well from the side and badly from behind. Standing at the mirror the seams were plumb, the hem was level, and the whole back panel had a faint bubble in it — a soft rise between the two dart points, like the cloth had been asked to fold in one place and had done it grudgingly. Nothing was measured wrong. One dart on each half was simply carrying the entire difference between waist and hip, and it was carrying it in a straight line down the roundest part of the panel.
What a single long dart is being asked to do
A dart takes width out at one level and leaves it at another. That is all. When the waist sits several inches smaller than the hip, that difference has to go somewhere, and a one-dart draft hands nearly all of it to a single fold per quarter panel. The wider the dart, the steeper the cloth has to turn at its point, and the more abruptly it has to leave the flat plane and come back to it.
Past roughly an inch of intake, that turn tends to leave a mark. Smooth cottons and anything with a sheen show it first; a wool crepe or a heavy twill will absorb far more before it complains. The other half of the problem is geometric. A dart folds along a straight line, but the surface it is shaping curves in two directions at once — outward across the seat and inward toward the waist — so a single line can only be right at one point along its length.
Working out the total suppression first
Before deciding how many darts, decide how much. Take the waist where you actually want the band to sit, over the clothes you wear under a skirt rather than over bare skin — the difference matters more than people expect, which is the whole argument in measuring over the clothes you actually wear. Then take the fullest hip, usually somewhere around seven to nine inches below that waistline, and note how far down it fell.
Subtract one from the other and you have the total suppression for the whole circumference. That figure gets divided three ways: a share to the side seams, a share to the front darts, and a larger share to the back. Many drafting systems send somewhere between a third and a half of the total to the side seams, then split the remainder unevenly front to back. The exact split is a preference, not a law, and it is worth testing once on cloth and then keeping.
| Waist-to-hip difference | Often taken at the side seams (total) | Left for the front, each half | Left for the back, each half |
|---|---|---|---|
| About 6 in | Roughly 2½–3 in | Roughly ½–¾ in, split across two darts | Roughly ¾–1 in, split across two darts |
| About 8 in | Roughly 3–4 in | Roughly ¾–1 in | Roughly 1–1¼ in |
| About 10 in | Roughly 4–5 in | Roughly 1–1¼ in | Roughly 1¼–1¾ in |
| About 12 in or more | Roughly 4½–5½ in | Roughly 1¼–1½ in | Roughly 1¾–2 in |
| Working in centimetres | Same proportions apply | Same proportions apply | Same proportions apply |
Read those as starting points to test, not as targets to hit. A side seam that swallows too much of the total starts to swing forward and lose its plumb line; one that swallows too little leaves the darts doing work they can't do quietly.
Two shorter darts ask the cloth to change its mind twice, gently, instead of once, sharply.
Two darts, two different lengths
Once the per-half figure is settled, split it. An even split is the obvious first try, though many people end up giving slightly more to the dart nearer the side seam, because that is where the panel curves hardest. The bigger decision is length, and the front and back rarely want the same answer.
Back darts tend to run longer — often somewhere around five and a half to seven inches from the waistline — because the curve behind you develops gradually and keeps developing well below the high hip. A short back dart releases its fullness too early and leaves a shelf. Front darts tend to be shorter, often three to four and a half inches, because the front curve is softer and closer to the waist. A long front dart aims a visible point at a flat area and usually shows.
Two darts also let you stagger the points instead of stopping them at the same level. Ending the inner dart half an inch or so above the outer one spreads the release over two lines rather than one, which is most of the reason the bubble disappears.
Placing them by feel, not by fraction
The usual instruction is to divide the quarter waist into thirds and drop a dart at each division. That is a reasonable place to start drawing. It is a poor place to stop, because it assumes the fullness sits symmetrically around the panel, and on most people it does not. Pin the first muslin, look at where the cloth actually wants to fold, and move the lines to meet it. A dart sitting a little off the tidy third is not a mistake — it is the panel telling you where its high point is.
The draft, in order
Work on paper first, with the hip line drawn before anything else. Every measurement below refers back to it.
- Draw the base rectangle: quarter hip plus your ease across, finished length down, with centre front and centre back marked. Rule the hip line at the depth you measured, and the waistline across the top.
- Take the side seam share out at the waist on both front and back, then curve the seam smoothly from that new point down to the hip line. Keep the curve continuous — a corner here reads as a dent in cloth.
- Divide what remains for the front half into two darts and mark their positions, starting from the tidy thirds and expecting to move them later.
- Do the same for the back with the larger figure, spacing the two darts a little wider apart than the front pair and setting their points lower.
- Draw each dart's legs from the waistline down to its point, then stagger the points so no two finish at the same level. Front points stay high; back points run deep.
- True the waistline last. Fold each dart closed the way it will be pressed, cut or trace the curve across the folded paper, and let it open again — the waist edge should now read as one clean line rather than a row of steps.
Reading the first muslin
Cut it in something with a similar hand to the fabric you have in mind, stitch the darts and side seams, and put a length of twill tape at the waist instead of a band. Then stand still and look for four things:
- A dimple or pucker at any dart point — usually means that dart is taking too much on its own, or its point stops in an area that hasn't started curving yet.
- A soft ridge running between the two points on one panel, which says the darts are too close together and are behaving like one wide dart.
- Fabric pooling just under the waist at the back, a sign the back darts are ending too high and releasing before the curve does.
- The side seam drifting forward or back off plumb, which is a suppression split question rather than a dart question.
Fix what you find on the paper block itself, not on the muslin, and re-cut. That is the point of a block: it absorbs the correction permanently so the next six skirts start from a shape that already works, which is the habit described in the one-adjustment rule.
When one dart is still the sensible answer
A two-dart draft is not automatically better. When the waist-to-hip difference is small, splitting it produces two darts so shallow they barely register, and the extra stitching buys nothing. Heavy or napped cloth hides a single dart well enough that the second one is fuss. Gathered, pleated or bias-cut styles handle the difference in other ways entirely. And a yoked skirt trades darts for a seam, which is the same shaping wearing different clothes.
A note on these figures
These are working notes from a home sewing workbook, written for people drafting their own blocks. Drafting systems, fabric weights, ease preferences and posture all vary, so every quantity here is a starting point to test on your own muslin rather than a rule to follow. Nothing on this page is professional fitting instruction, and no measurement described here says anything about a body beyond how much room a garment needs.