Notches That Earn Their Keep: A Marking System for Repeat Sewing
A consistent notch system turns pattern matching into a five-second glance instead of a guessing game at the ironing board.
Two sleeve pieces on the ironing board, cut from the same charcoal twill, both facing up. One is the left sleeve and one is the right, and for a good thirty seconds there is no way to tell which is which except by holding each against the armhole and squinting. That thirty seconds happens again at the side seams, and again when the skirt back gets pinned to the skirt front upside down. None of it is a skill problem. It is a labeling problem, and the fix costs nothing but a decision made once and then never revisited.
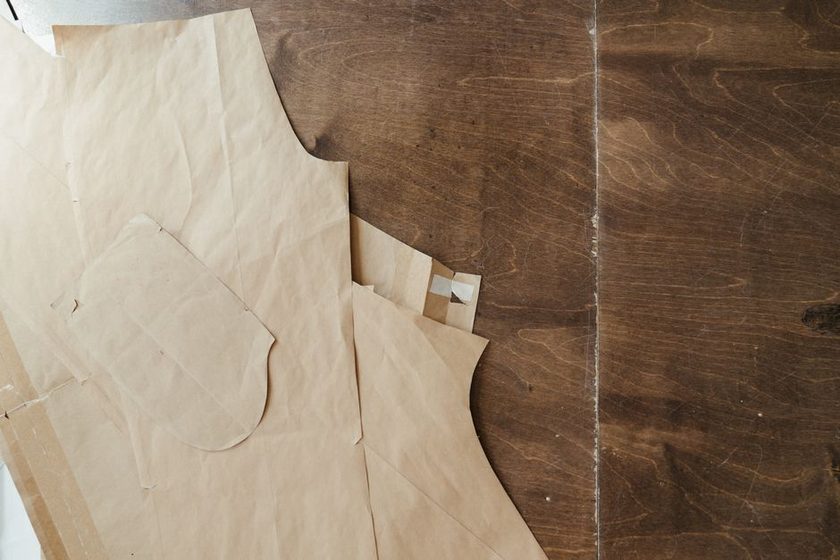
A notch cut outward from the edge: the triangle sits on top of the seam allowance rather than eating into it, so the mark survives trimming and grading.
A notch is a sentence, not a decoration
Every notch you cut is a short instruction to a future version of yourself who has forgotten everything about today. This edge joins that edge. This one faces forward. Stop easing here. Commercial patterns say those things too, but they say them in whatever dialect that publisher uses, and the dialect changes between envelopes. Your own block set has no such excuse. It can speak one language for the next decade.
The trouble starts when the notches are decorative — a triangle here because the drafting book had one, a clip there because the fabric was slipping. Marks that do not mean anything specific still cost attention. You look at them, ask what they are for, and get no answer. A system with four marks and four meanings beats a system with eleven marks and a vague feeling.
The four marks, and nothing else
Here is the whole vocabulary. Single for front, double for back, a flagged notch where ease begins and ends, and a drawn crossing where the grainline meets a seam line. Four marks cover every joining decision a bodice, sleeve, and skirt block will ever ask you to make.
| Mark | Where it lives | What it tells you at the machine |
|---|---|---|
| Single notch | Every seam edge belonging to a front piece | This edge faces forward. Match it to another single. |
| Double notch (two triangles, a finger-width apart) | Every seam edge belonging to a back piece | This edge faces backward. Never pairs with a single. |
| Flagged notch (single notch with a short pencil bar drawn across it) | Sleeve cap, armhole, skirt hip curve | Ease starts or stops here. Between two flags, the longer edge gets distributed. |
| Drawn crossing (a small blue T, never cut) | Wherever the grainline, if extended, would cross a seam line | Balance point. If this sits crooked on the body, the piece is hanging off-grain. |
| No mark at all | Hems, fold lines, center front on the fold | Deliberate silence. An unmarked edge is never a seam edge. |
The last row is the one people skip, and it does more work than the others. A blank edge that means blank is information. It is also the reason to keep the vocabulary small: the more marks you invent, the less an absent mark can tell you.
The value of a notch system is not in any single notch. It is in the promise that a single triangle has meant “front” on every piece you have ever cut, without exception, since the day you decided it would.
Why it collapses the moment you change it
Say the bodice block uses single-for-front. Two years later, drafting a skirt, you decide doubles look tidier on the front because there are fewer pieces to confuse. Now half the block set speaks one language and half speaks another, and neither half is trustworthy — you have to remember which era a piece comes from before you can read it. The system has not been improved. It has been deleted.
This is the same discipline that makes a single fitting adjustment stick instead of being re-litigated at every muslin, the argument laid out in The One-Adjustment Rule. Consistency is what converts a one-time decision into a permanent saving. A notch convention that drifts is just extra cutting.
So write it down before you rely on it, and let the written version win any argument with your memory. If a mark on an old piece contradicts the legend, the piece is wrong, not the legend.
Cut outward, never into the allowance
Cut a notch inward and you have removed a wedge of the seam allowance at exactly the point where you most want it intact. On a curved armhole with a narrow allowance, an inward clip can leave you a few threads from the stitching line — and it disappears entirely the moment you trim or grade. Cut the same notch outward, as a small triangle standing proud of the cutting line, and it survives everything.
- Keep the triangle short and wide — roughly a quarter inch tall, half an inch at the base. Tall thin points bend over and vanish under the presser foot.
- Trace the outward triangles onto the fabric as part of the cutting line. You are not clipping the cloth; you are cutting around a bump.
- On slippery or loosely woven cloth, back the triangle up with a chalk tick on the wrong side. The bump can fray away; the chalk stays for one session, which is all you need.
- Never place a notch closer than an inch to a corner. Corners already carry enough information.
Outward notches also protect the thing that makes a block reusable in the first place: an allowance whose width you can trust everywhere, the case made in Why Seam Allowance Consistency Matters More Than Seam Allowance Size.
Mark the cloth copy the same day
A paper master and a cloth sloper drift apart fast if only one of them gets updated. When you add notches to the paper block, transfer them to the cloth copy in the same sitting — tailor's tacks for the flagged notches, a running thread line for the grain crossings. Some sewists find the cloth copy becomes the version they actually reach for, which is exactly why it cannot be the version with missing marks.
Retrofitting a block set you already own
You do not need to recut anything. Retrofitting is an evening of quiet work with a pencil, and pieces you never use again simply never get done.
- Write the legend first. One index card, four rows, taped inside the master envelope. Date it. Everything after this is just applying the card.
- Sort by piece, not by garment. All fronts in one stack, all backs in another. Sorting first means you are never deciding front-versus-back and notch-versus-no-notch in the same moment.
- Draw before you cut. Pencil the triangles onto the paper edge and leave them uncut for a day. Fresh eyes catch a back piece that wandered into the front stack.
- Add the flags last. Ease limits are the only marks that need measuring, and they depend on how you distribute the cap — see Sleeve Cap Ease for what those numbers actually describe.
- Retire contradictions. Any old piece whose marks disagree with the card gets a diagonal line through the corner and goes to the back of the envelope. Not thrown out — just demoted, so it cannot be picked up by mistake.
Whether the master lives on paper or in cloth changes the retrofit slightly; the tradeoffs are covered in Paper Block or Cloth Sloper. The legend card, however, belongs to the envelope either way.
What the system quietly buys you
Two things, mostly. The first is the thirty seconds at the ironing board, multiplied by every seam of every garment for as long as the block set lasts. The second is harder to notice: pieces that announce their orientation are pieces you stop cutting backwards. A mirrored sleeve, discovered after the cap is stitched, costs a great deal more than a triangle of paper.
There is a third benefit that only shows up later. When a block finally does need a real change — a shoulder that has shifted, a waist that sits differently than it did when you first measured over the clothes you actually wear, as in this note on measuring over worn garments — a marked block tells you where the change has to propagate. Move the shoulder point and the flagged ease limits move with it, visibly, because they were labeled. An unmarked block just leaves you guessing which curves were related.
A note on scope
This is one workroom's convention, written down because writing it down is the whole point. Nothing here is a standard, and a different set of four marks would serve just as well as long as it never changes. Blockdraft publishes notes on drafting and home tailoring for readers who want to think about their own methods, not instructions to follow exactly. If your local sewing tradition or your teacher uses a different vocabulary, keep theirs — the consistency matters far more than the particular shapes.