Sleeve Cap Ease: What the Numbers on Your Pattern Actually Mean
The ease figure printed on a sleeve pattern is a starting point, not a rule — this note breaks down what actually drives how much a cap should measure over the armscye.
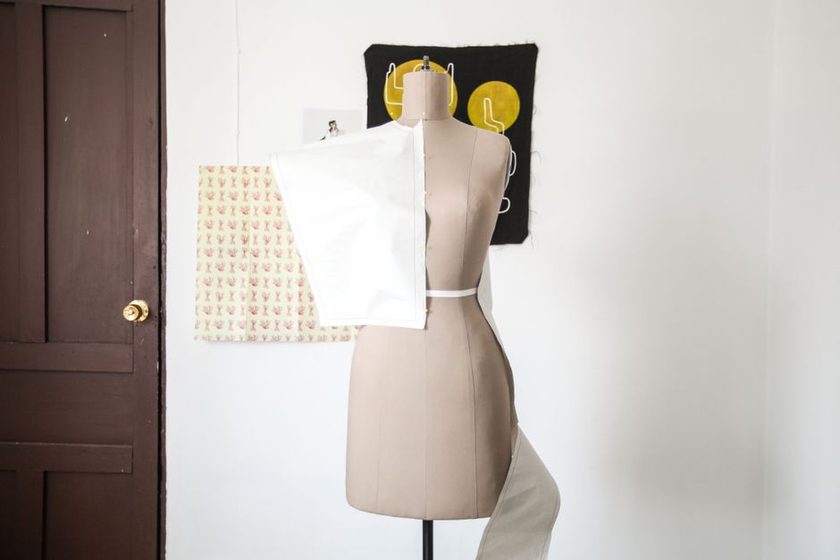
Somewhere on the sleeve piece there is usually a small note: ease in cap, followed by a figure. It looks authoritative, printed there in the same ink as the grainline. But that figure was decided by someone who never touched your fabric, never saw your armscye, and had no idea whether you were building a soft shirt sleeve or a structured jacket. It is a description of what the drafter expected, not a specification your sleeve has to honor. Once you stop treating it as a rule, the cap stops being the part of the garment you dread.
What the printed figure is actually describing
Cap ease is the difference between two curved measurements: the length of the sleeve cap seamline and the length of the armscye seamline it gets sewn into. When the cap is longer, that extra length has to go somewhere. In a woven sleeve it goes into the fabric itself — distributed, steamed, and coaxed flat so the cap rolls smoothly over the top of the arm instead of lying like a folded paper bag.
So the printed number is an assumption about how much extra length the fabric can absorb without complaint. Commercial patterns often print something in the range of an inch to an inch and a half for a plain woven sleeve, because that tends to work across the largest number of household fabrics. It is an average dressed up as an instruction. Averages are how a pattern company survives printing one sheet for thousands of people, and they are exactly what you stop needing once you draft your own master block.
A cap that puckers is rarely telling you that you sewed badly. It is usually telling you that you asked a fabric to swallow more length than it was willing to give up.
Variable one: what the fabric will give you
Wool is generous. A loosely woven wool flannel will take a surprising amount of extra length and, under a damp cloth and a warm iron, quietly shrink it away until the seamline lies smooth. That is not magic — the fibers are springy and the weave is open enough to compact.
A tightly woven cotton poplin will not do this. Neither will most linens, most shirtings, and almost nothing with a hard finish or a synthetic content. Press all you like; the extra length has nowhere to hide, so it collects into small pleats along the seam. Every experienced sewer has quietly redrafted a cap after fighting one of these, and the pattern's printed figure had nothing useful to say about it.
Before you commit, test it. Cut a strip on the bias-ish curve of a scrap, run a gathering row, draw up a small amount, and press it over a ham. If it flattens, your fabric is generous. If it stays crimped, you now know the cap needs less ease before you cut anything real.
Measure before you trust the print
The figure on the tissue describes the drafter's fabric, not yours. Walk your own sleeve against your own armscye and write the result on the pattern piece in pencil. Two minutes with a tape settles an argument that a whole afternoon of unpicking will not.
Variable two: cap height
Cap height — the vertical distance from the biceps line to the top of the curve — controls two things at once: how much the arm can lift comfortably, and how much length that curve has to hold. A tall, narrow cap covers a lot of distance and produces more ease almost automatically. A low, wide cap is shorter through the curve and carries far less.
This is why a shirt sleeve and a tailored jacket sleeve behave like different animals. The shirt sleeve is deliberately shallow, sets in nearly flat, and lets you reach for a shelf. The jacket sleeve stands tall, holds a rolled edge at the shoulder, and needs that extra length to build the roll. Neither one is more correct. They are answers to different questions about how the garment should move.
If you lower a cap, ease drops with it. If you raise it, ease climbs. That relationship is worth internalizing, because it means cap height is your main lever when the numbers come out wrong — a far better tool than shaving the seam allowance and hoping.
Variable three: how the armscye was drafted
The cap is only half the pair. A deep, wide armscye has a longer seamline, which shrinks the ease figure without you changing the sleeve at all. A high, tight armscye is shorter and pushes the number up. If you moved the shoulder point, dropped the underarm, or rotated shaping into the side seam while working through dart rotation, the armscye length changed — and the sleeve you drafted last winter no longer matches the figure you wrote down for it.
This is the quiet reason cap ease drifts. Bodices get adjusted. Sleeves get forgotten. Then one day a familiar sleeve refuses to set, and the fabric takes the blame.
Walking the sleeve: getting the real number
Walking is just measuring one curve against another with the paper itself instead of a flexible tape that never quite behaves on a curve. It takes a few minutes and it removes all guessing.
- Mark your match points. Underarm seam on each side, shoulder point at the top, and the front and back notches. Work seamline to seamline, not cut edge to cut edge — if the two pieces carry different seam allowances, the comparison is meaningless.
- Pin the sleeve to the armscye at the front underarm. Stick a pin straight through both seamlines so the pieces pivot on that single point.
- Pivot in short arcs. Move the sleeve a couple of inches at a time, keeping the seamlines touching, walking around the curve. Do not bend or crease the paper to make it fit — let it rotate.
- Stop at the shoulder point and read the overhang. The distance the sleeve extends past the armscye mark is the ease in that half. Note it in pencil on the piece.
- Repeat from the back underarm. Add the two overhangs. That total is your real cap ease — for this sleeve, against this armscye, today.
When the number comes out high or low
Now you have a measured figure and a fabric you have tested. The correction is usually small and it belongs on the pattern, not on the cutting table — the same principle behind fixing a block once rather than re-solving it in every muslin.
- Too much ease for the fabric: lower the cap slightly and widen the biceps line to keep the sleeve from getting tight. Re-walk. Repeat in small moves.
- Too little ease and the cap looks flat: raise the cap a little, or check whether the armscye got dropped at some point and quietly grew.
- Uneven front and back: often a notch placement problem rather than a curve problem. Worth a look at your marking system before you redraw anything.
| What you're working with | How it tends to behave at the cap | Where to look first |
|---|---|---|
| Loosely woven wool, flannel, soft coating | Absorbs generous ease under steam; seam presses smooth | Keep cap height; you have room to work with |
| Crisp cotton poplin, shirting, hard-finish linen | Tends to pucker; extra length shows as small pleats | Lower the cap; reduce measured ease |
| Synthetics and blends with a slick finish | Resists shrinking under the iron almost entirely | Draft toward a flat-set shirt-style cap |
| Structured jacket in a firm woven | Wants the length to build a roll at the shoulder | Raise the cap; check armscye height matches |
| Any fabric, after a bodice adjustment | Ease figure drifts because the armscye changed | Re-walk the sleeve before cutting again |
The pattern that fits you well after all this is not the one with the right number printed on it. It is the one whose number you measured yourself and wrote down. That is also the habit that makes reading someone else's tissue useful instead of confusing — see reading a commercial pattern against your own block for how the same comparison works across the whole garment.
A note on how to read this
This is an editorial note about drafting practice, written from bench experience at one table. Bodies, fabrics, and drafting systems vary, and reasonable pattern makers disagree about cap construction. Treat the methods here as something to test against your own block and your own scraps rather than a standard to follow. Nothing here is measured against your particular pattern, and no result is promised.